DIY: Under Desk MIDI Keyboard Tray
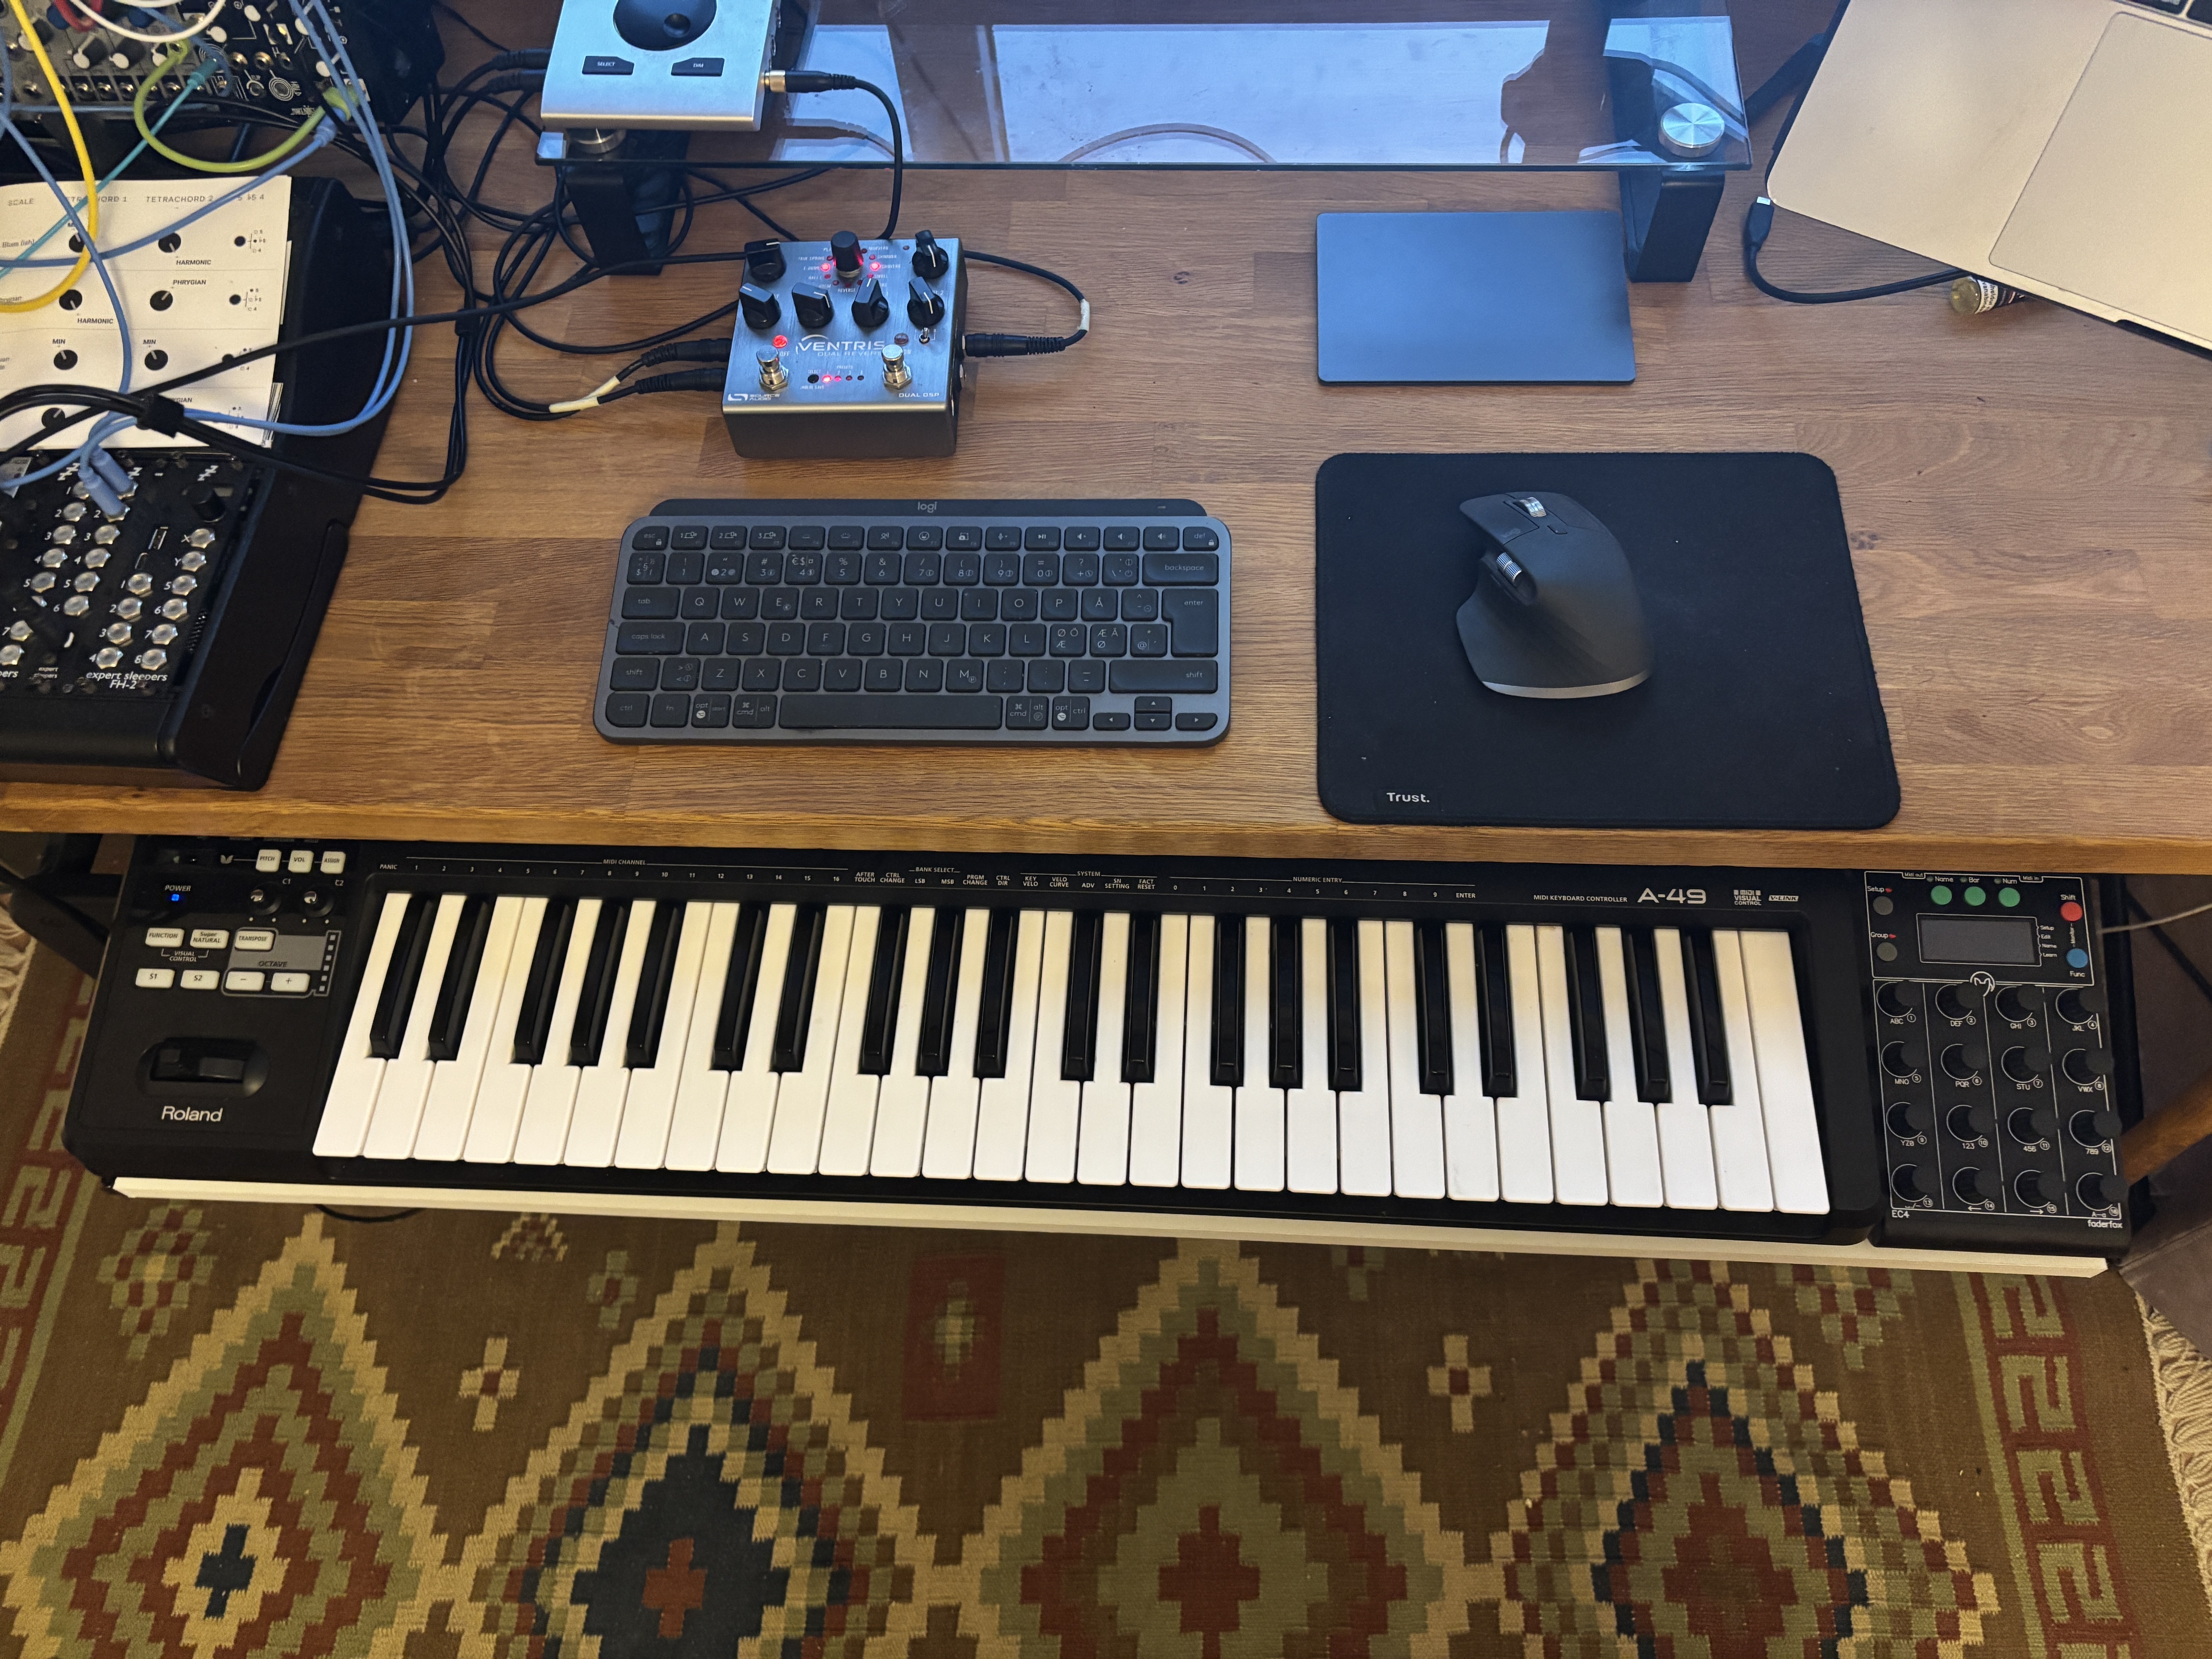
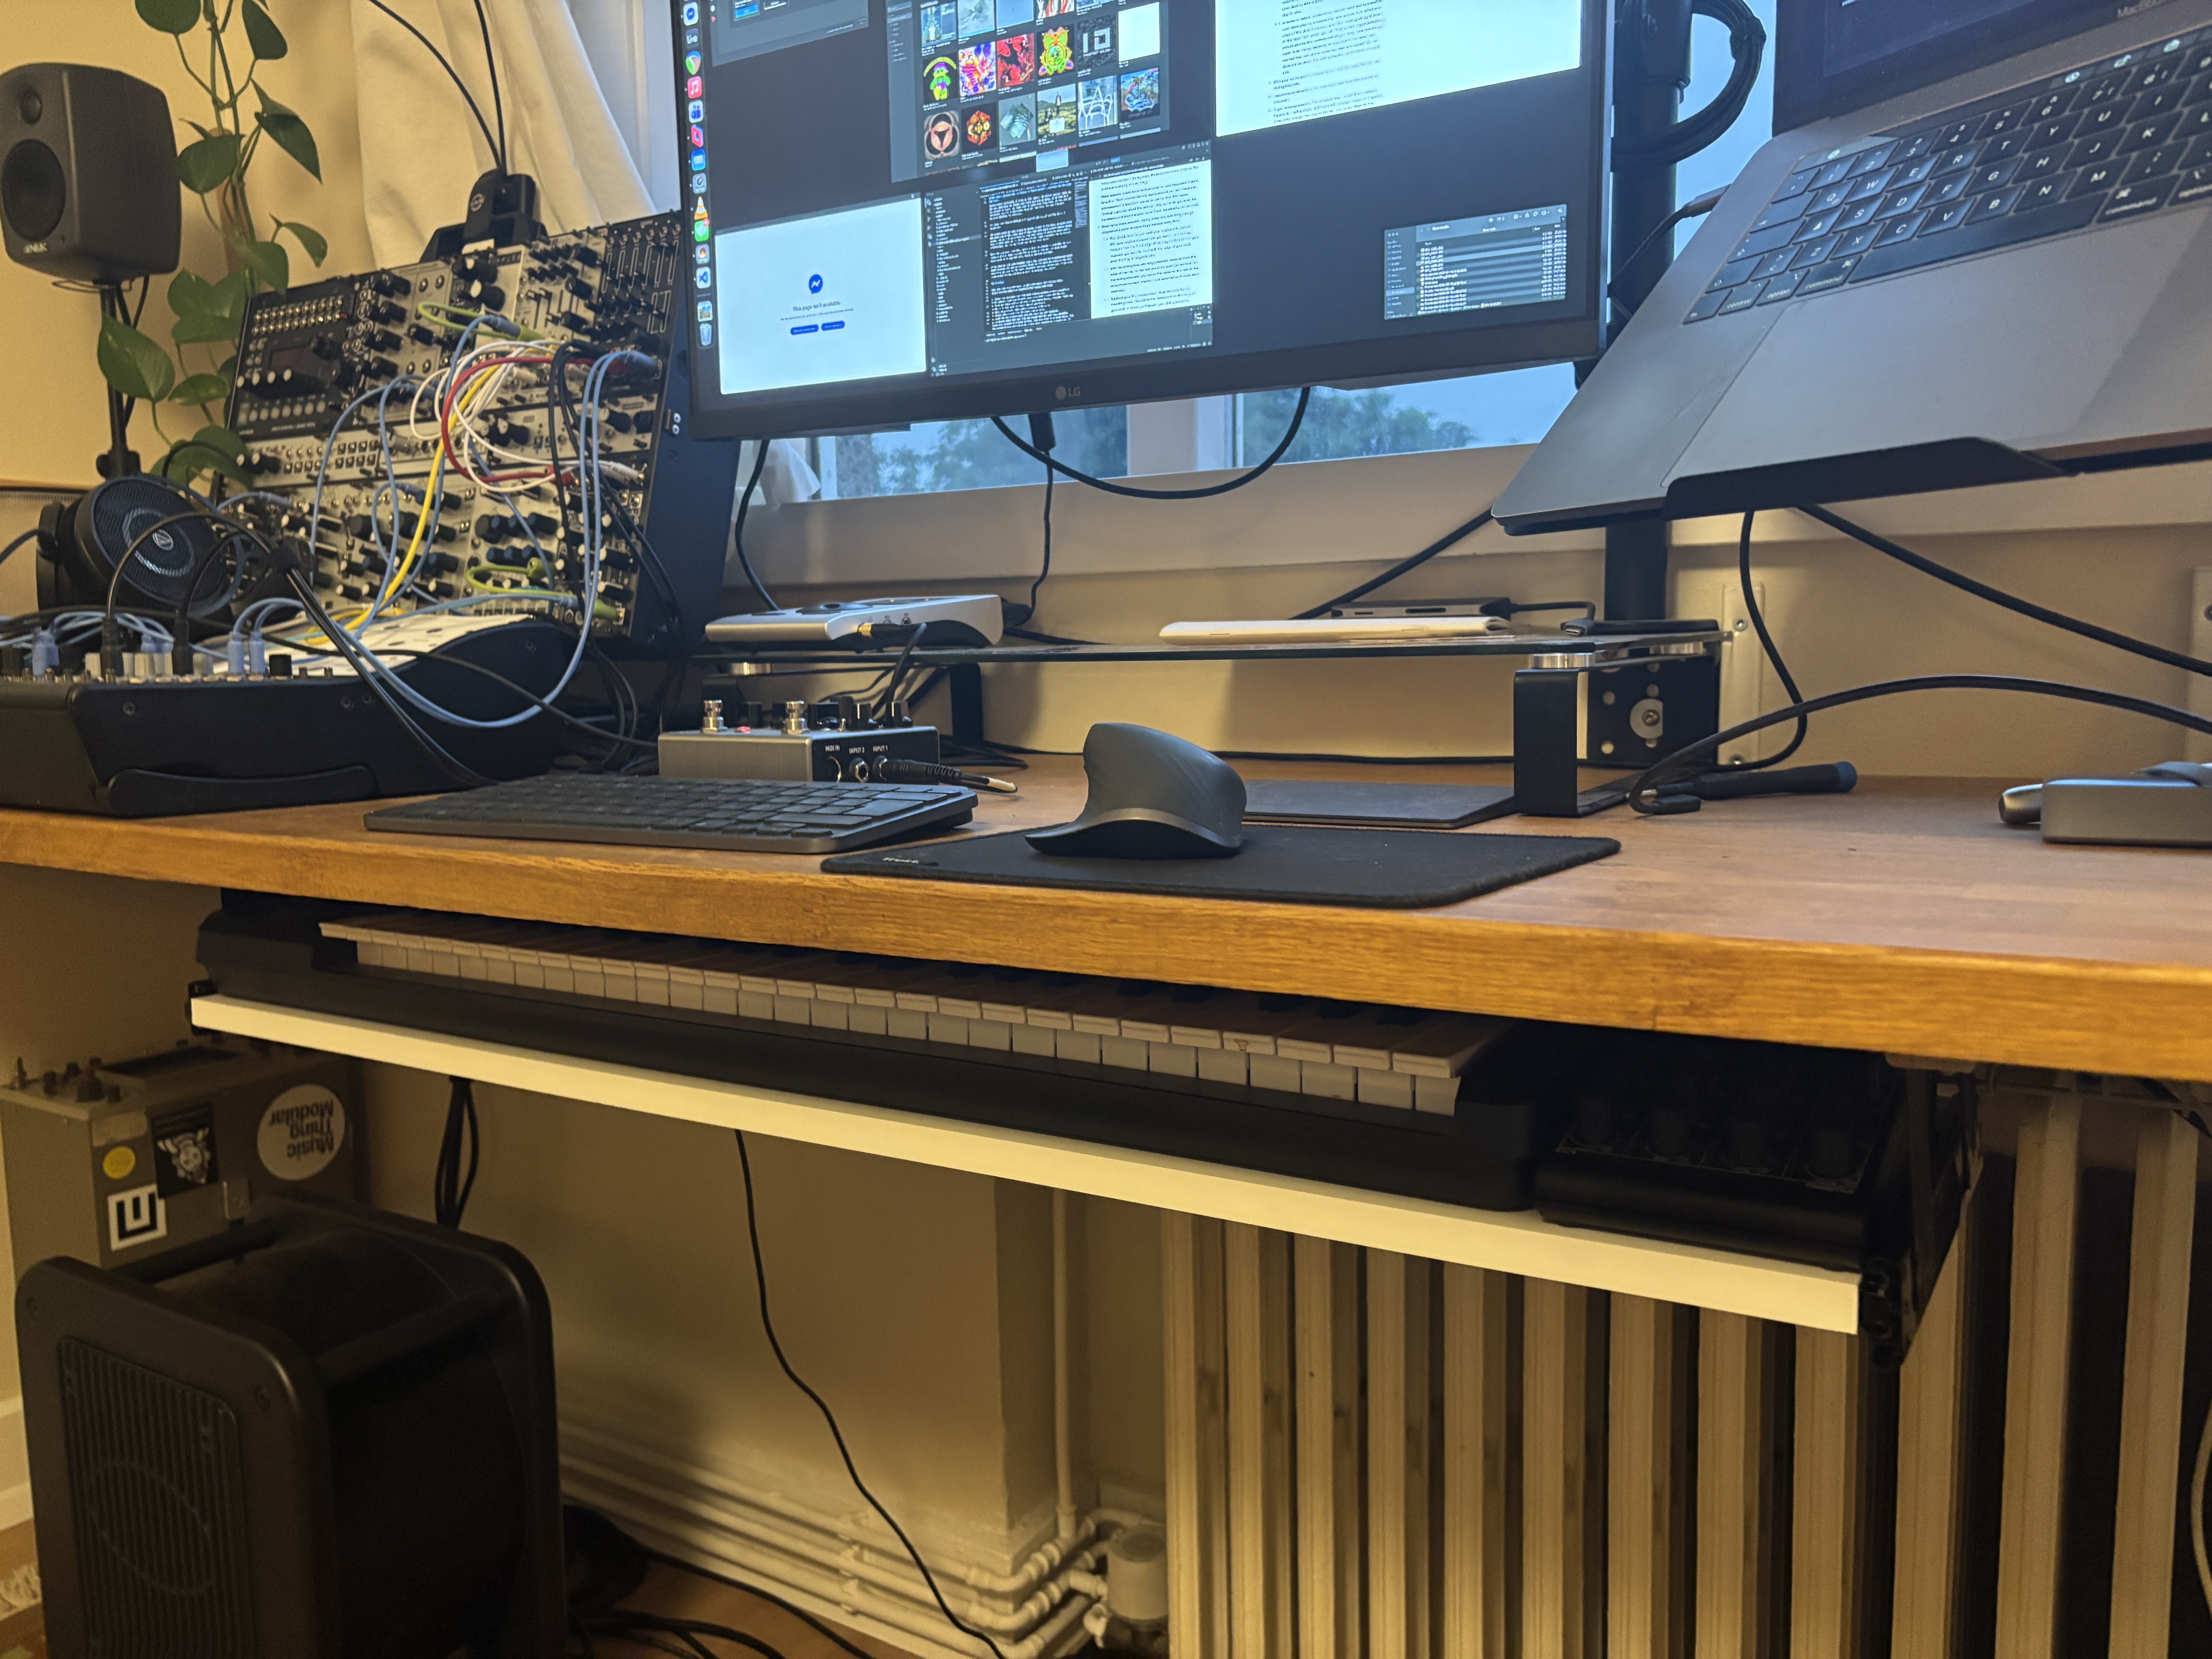
I recently built my own MIDI keyboard tray for my home studio desk. Here's my way of doing it.
I’m rather happy with my home studio space. However, something that has always been a limiting factor is not having free space on my table to permanently place my Roland A-49 MIDI keyboard. My approach has always just been to prop it up against a nearby wall when not in use, and just move my computer keyboard and mouse off to the side when I do need it. This has always been a bit of an abrasive process, not to mention all the finicky cable mess that comes with it. Pretty restrictive for when you just want to be in the creative flow, if you ask me.
So, I decided I would solve this problem by making myself one of those sliding MIDI keyboard trays that you see around the internet. I had no real plan - only a rough idea of what I needed to do.
Materials:
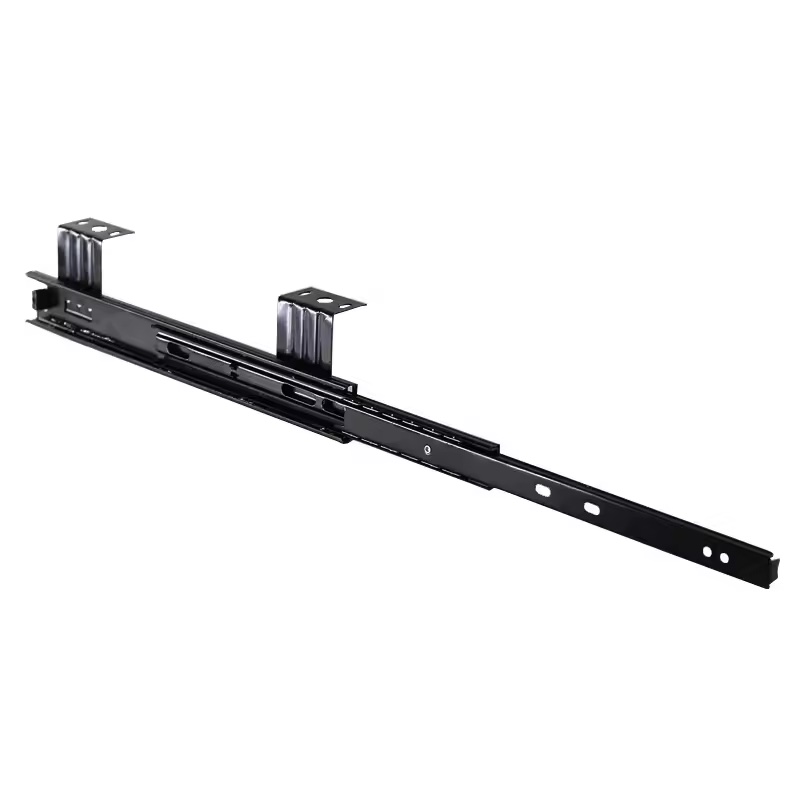
- 1x Set of cabinet/keyboard sliding rail brackets
- 1x Particle/plywood board (dimensions depend on the size of your MIDI keyboard)
- 1x Length of wood batten or trimming (or just some wooden blocks)
- 10x 3.5x15mm wood screws
Tools:
- Measuring tape
- Framing square
- Power drill
- 3mm drill suitable for use with wood
- A pen or pencil for marking holes
- A vacuum cleaner
- Might need: a hand saw
- Patience (important)
I had no luck locally sourcing the specific sliding rails I needed here in Reykjavík, so I ended up finding a set for cheap online from a Chinese retailer. I just made sure to take measurements of my keyboard’s height and depth to get a pair that could approximately accommodate it (more on that later). The better quality rails you get will determine how robust this thing will end up being, so if that is a big concern of yours, you might want to spend more money here. If not, you can definitely just get a relatively cheap set like this. The ones I bought measured 240x70mm for reference.
The wooden board was easy enough to source. I went to the local hardware store and asked one of the lumber guys if they had some spare cut-off boards lying around, and as luck would have it, they had a piece of particle board with a coat of white paint on it. It was exactly the right dimensions for my project (15x26x930mm) and the guy let me have it for free. Neat!
Note: For a project like this, particle board or plywood is probably the most suitable choice. Something like MDF is probably fine but the added weight might cause it to sag over time, which is not what you want.
If you have no luck with freebies like I did, just ask for a custom-sawn board which measures the same as, or slightly larger than, the depth and width of the MIDI controller you want to fit there. Shouldn’t cost much. Better yet, if you have a woodworker friend, ask them to do it in exchange for a beer!
Assembly
This step took me a few hours. It got a bit messy, but nothing crazy. I did not take photos of my assembly process, so I’ll attempt to keep these instructions as clear as I can in writing. If I have a moment to spare in the future I might update this post with more photos. Here’s the step order I’d recommend after having done this:
- Detach the innermost rail from both sliding brackets (there’s usually a little plastic lever you can press down to unlatch it and pull it out)
- Place one inner rail on the side of your wooden board, align the front edge of the rail flush with the front edge of your board.
- Mark and pre-drill holes before screwing on the rail.
- Repeat steps 2 and 3 for the other side as well.
- Slide the two brackets back onto the rails you just fastened.
- To double check that your tray has enough room for your MIDI keyboard, place your keyboard on a solid surface, like your floor or a large table. Flip the assembled tray over and place it over your keyboard so it covers it. If you can freely slide the tray around on top of your keyboard, you can skip the next step and mount the tray underneath your desk. If not, you’ll need to do what I did and follow step number 7. (In my case, the mod/pitchbend stick on the A-49 was bumping into my tray).
- Make spacers to add more vertical room for your keyboard. I had a length of 10mm wooden batten lying around, so I just measured and sawed off a few 20cm pieces to use for this. With some foresight, you can avoid this and sort this out while you’re at the hardware store sourcing your wood (I did, regrettably, not do this).
- Make some measurements. Taking notes and sketching a rough diagram on a piece of paper helps manage everything.
- First decide how far you want your keyboard to pull out. With your keyboard placed how you want it on the tray, measure from the front edge of the tray to the point on your keyboard you want to meet with the edge of your desk when the tray is fully extended.
- With the sliding brackets fully extended, measure from the edge of the tray to the first mounting point (screw hole) on the sliding brackets. You can do the same for the rest of the screw holes on each bracket (I just assumed both sides were identical).
- Subtract your first measurement from the ones for the mounting holes. This will be the distance from the edge of your desk to where you’ll mount your sliding brackets, depth-wise.
- In terms of lateral positioning, I recommend taking a seat at your desk, placing a measuring tape across from whichever edge of the desk is closest, and then looking straight down at the tape from where you sit. That number (approximately) should also be the centerpoint of your tray. How precise you want to do things depends on you, but in my case I just marked that centerline under my desk and added 1/2 the distance between the sliding bracket screw holes on each side.
- With your screw points measured, pre-drill the holes for the two sliding brackets.
- I recommend detaching the innermost rails from the bracket at this point.
- If you’re using spacers, the simplest way I could find to attach them is to mark and pre-drill holes with a larger diameter (I used a 4mm drill) through the spacer blocks, and screw them to the brackets first.
- Screw the brackets into your pre-drilled mounting holes under the desk. Don’t tighten the screws fully.
- With the brackets now in place, slide the tray assembly back onto the brackets.
- Test the setup and fine tune the screws as needed. Once you’re satisfied, fully tighten the mounting screws and you’re done!
When you’re done, there will be sawdust. A quick round with the vacuum cleaner fixes that right up.
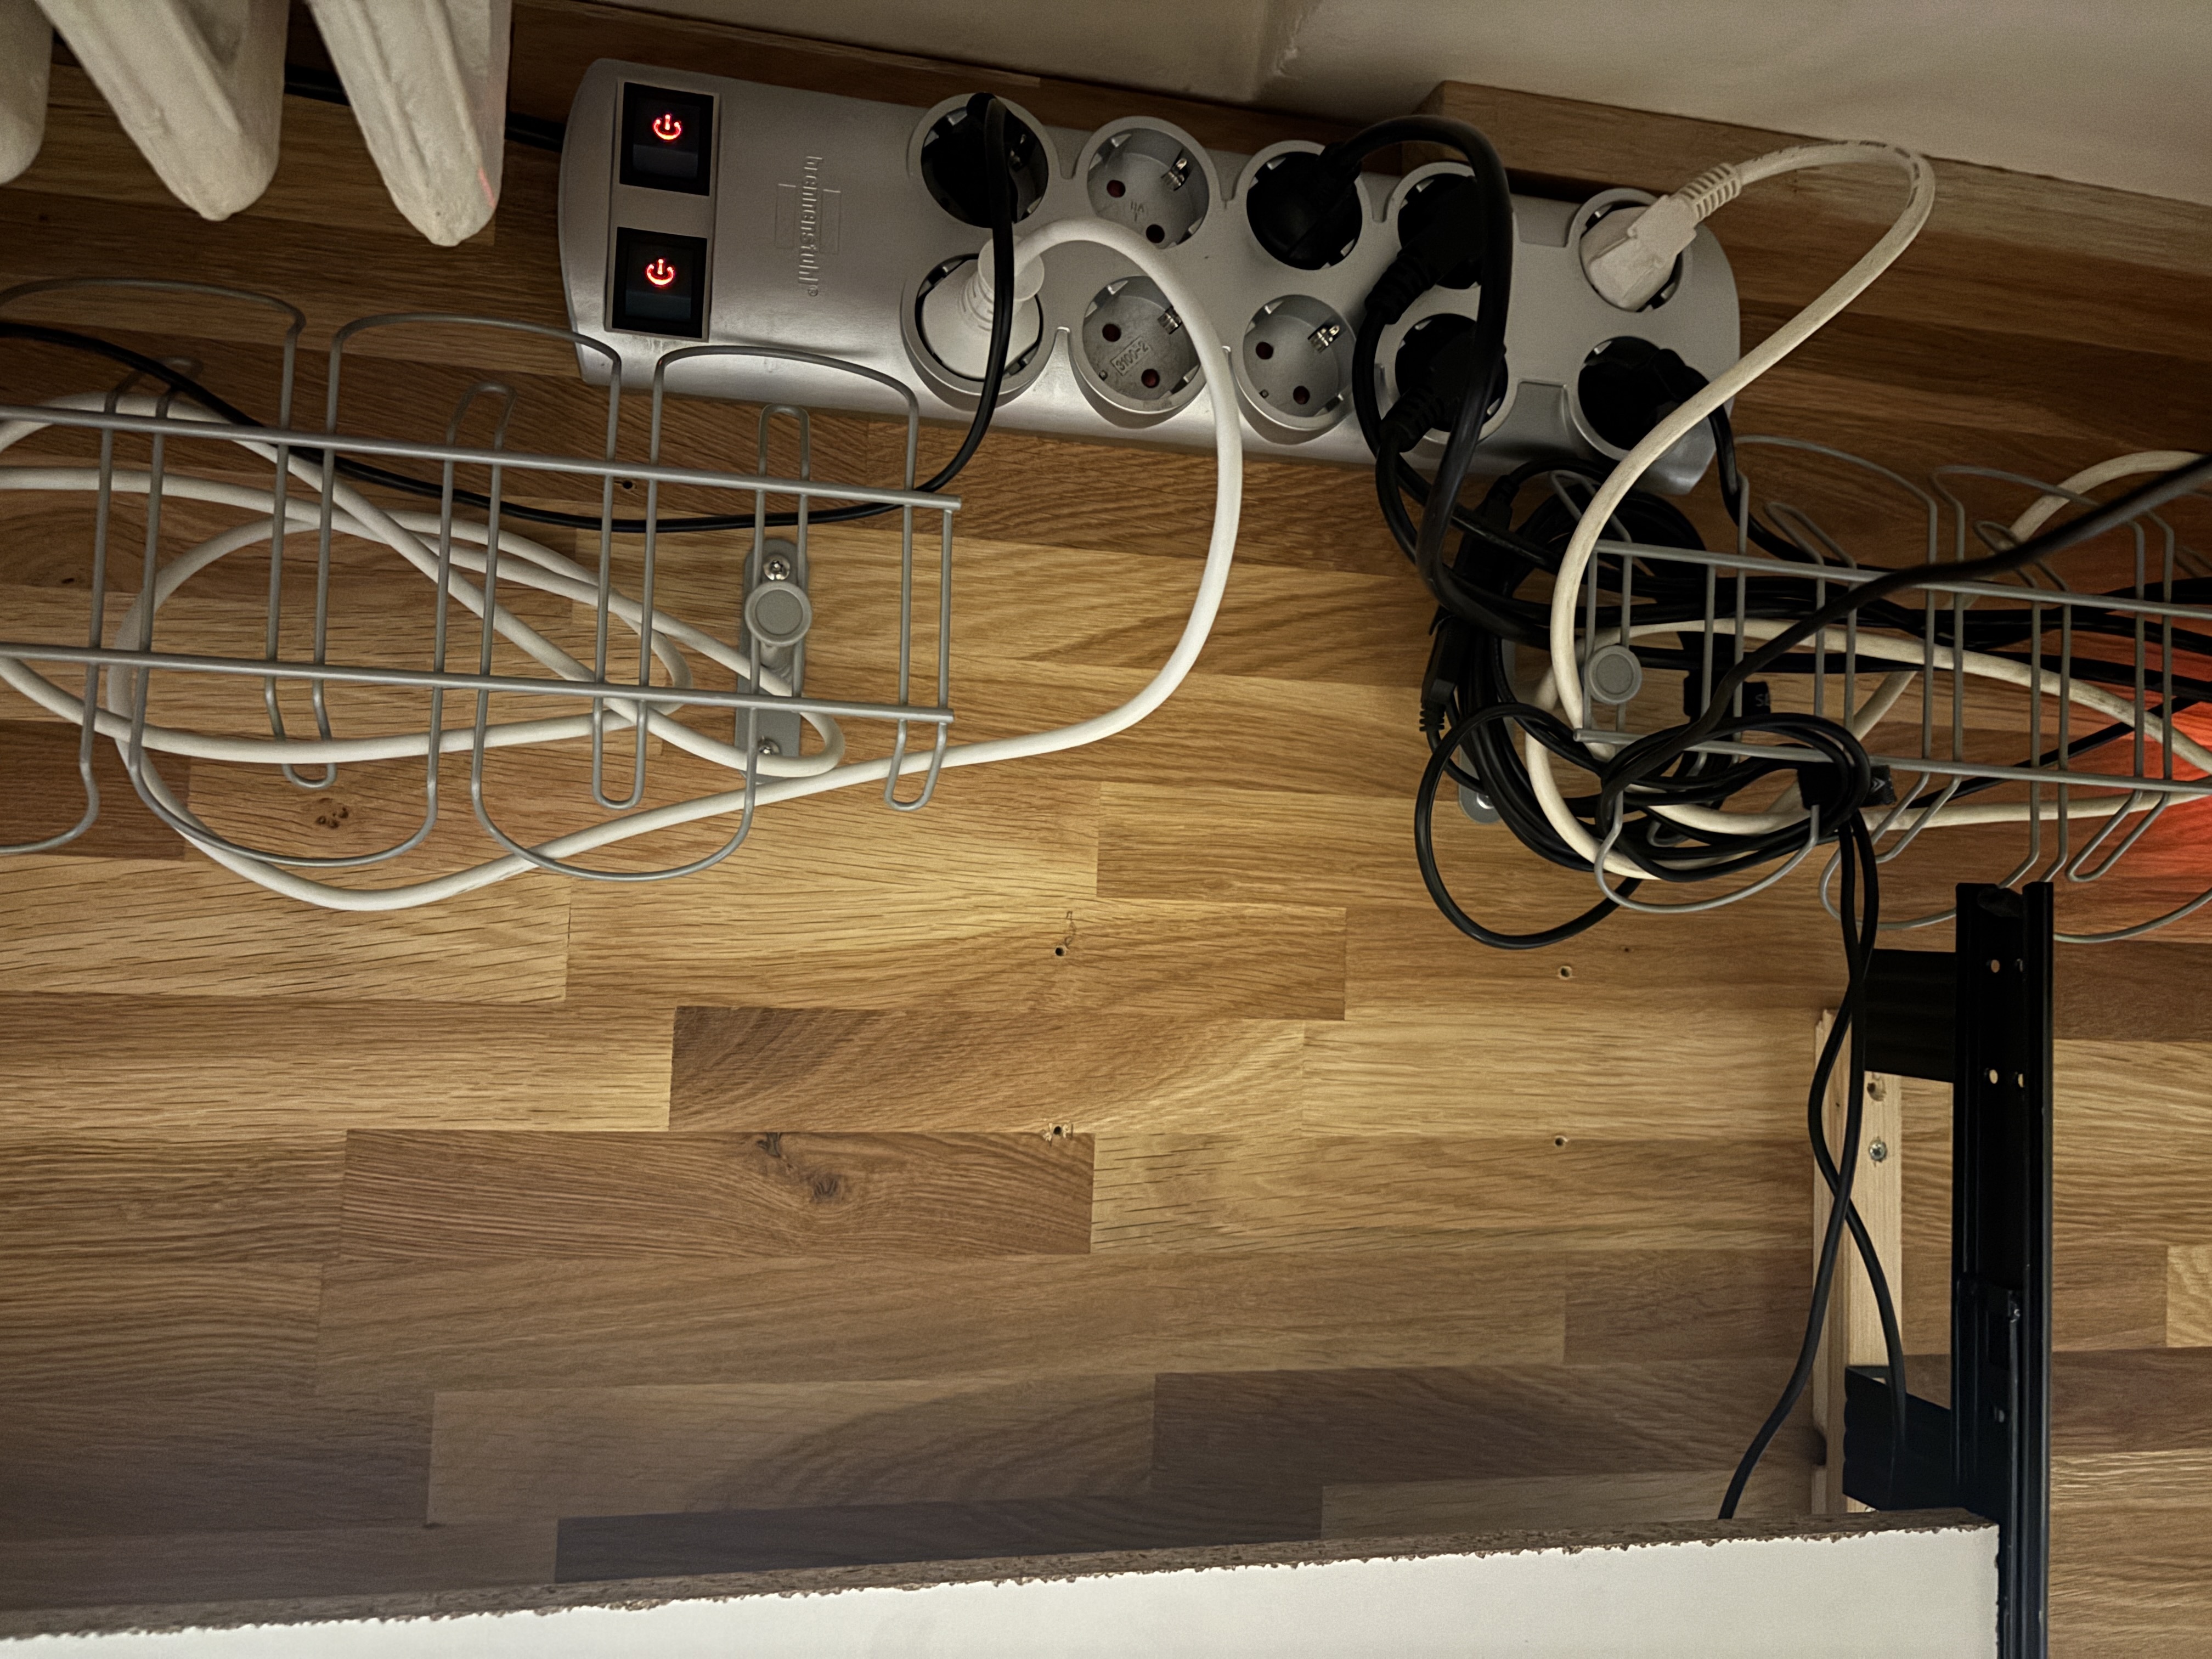
If you don’t already, I recommend using this opportunity to install some sort of cable management system underneath your desk to make your life easier. I’m using two wire cable holders from IKEA and a beefy power strip mounted underneath the desk.
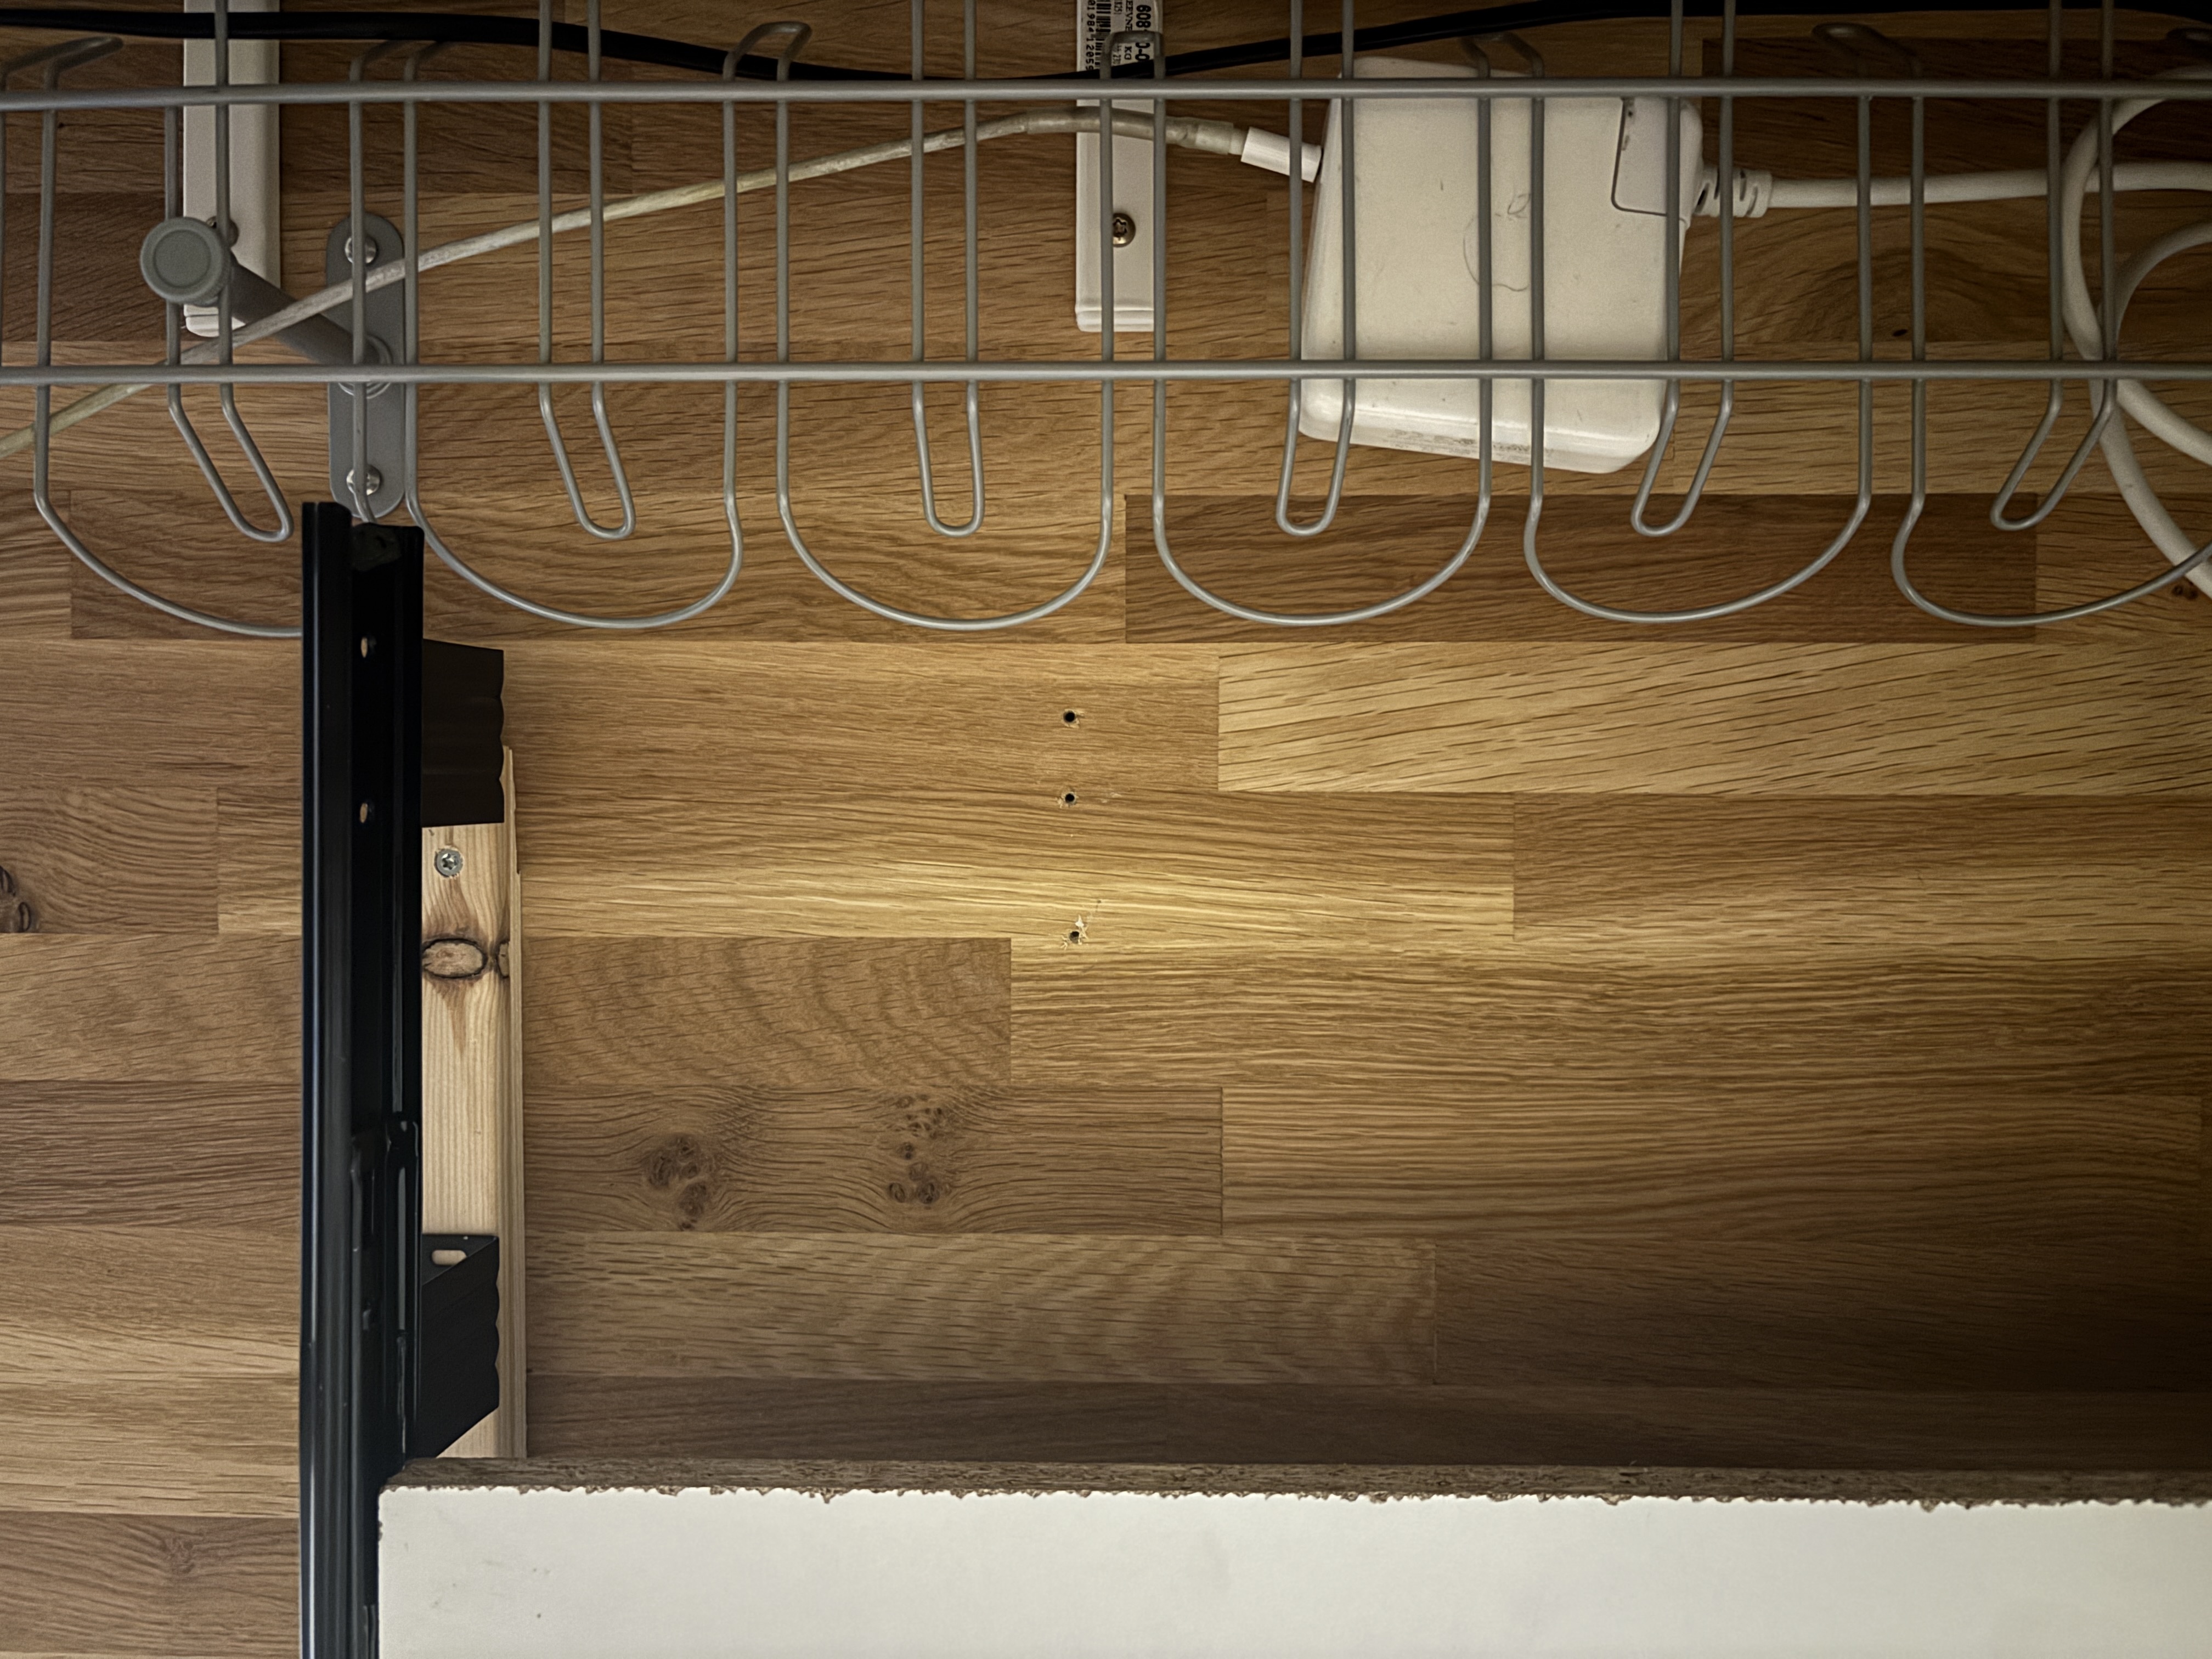
In hindsight this was a worth-while upgrade for my workspace, as I now always have access to a keyboard if the need arises. This is not something everyone relates to, but when space is at a premium, this kind of upgrade is incredibly valuable.
If anyone out there is inspired and attempts this, feel free to contact me; you can find my address in the footer below.